
Start by measuring out 1 3/4", starting from the point. The pointed end will be the bayonet, the other the butt.

You can round out the flat end a little if you think it looks better. I do it just to get rid of the ragged edge from the cut.
Paint all but the pointed end a brown wood color.
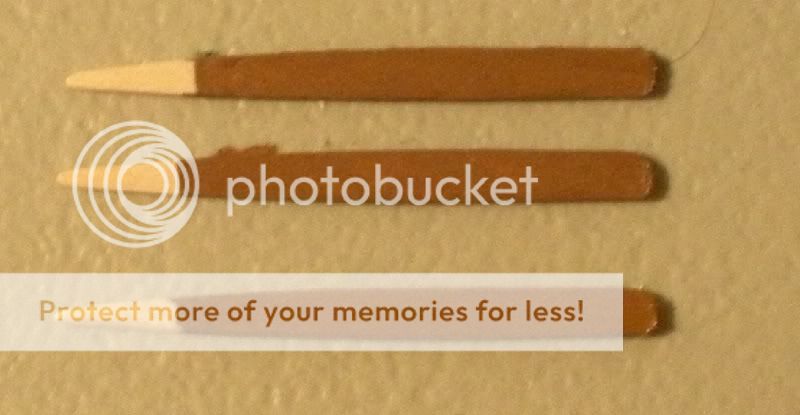
Now paint the pointed end a steel metal color. In this case I used Game Workshop's Chainmail.

Now paint the firing mechanism the same steel color. A simple rectangle will do; nothing fancy. This goes on only one side, the right.
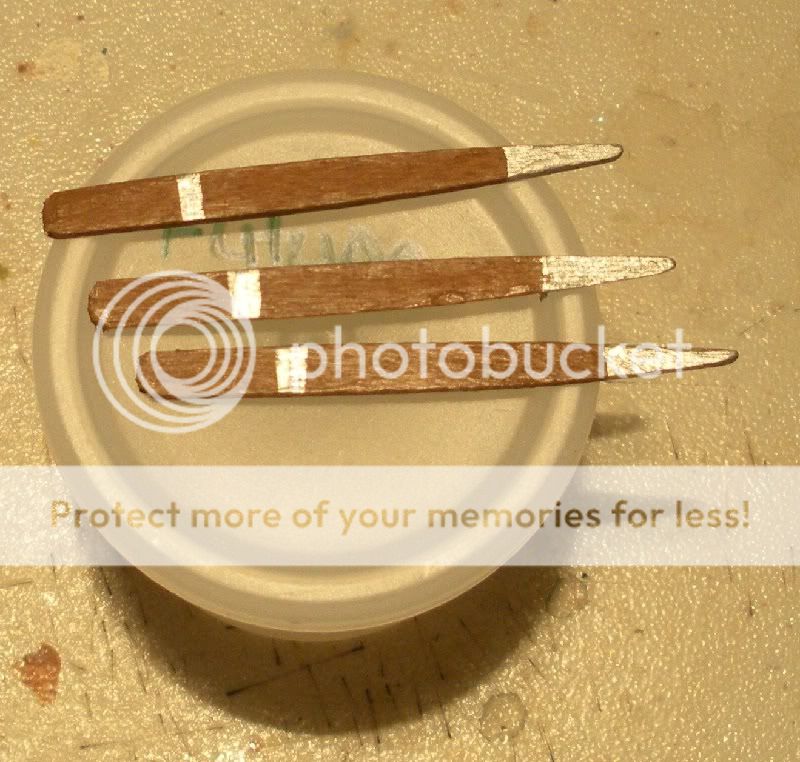
Now paint the gun barrel. Paint both sides and the top.

A musket has metal bands that bind the barrel to the stock. To pick these details out a little, paint two black bands all the way around. Some muskets have more, so if you want to be historically accurate, do your research given the type of musket and the period.

I use a brass color for the bands to add contrast to the steel. If you want to be historically accurate, research out the proper color (usually either brass or steel). Paint the color inside the black band, leaving enough black to highlight the detail. Use a smaller brush than you used for the black bands and it should be no trouble.

That's it! Very simple, but effective. No need to get more detailed as we are going for the effect. Gluing the musket to the hand should be sufficient.
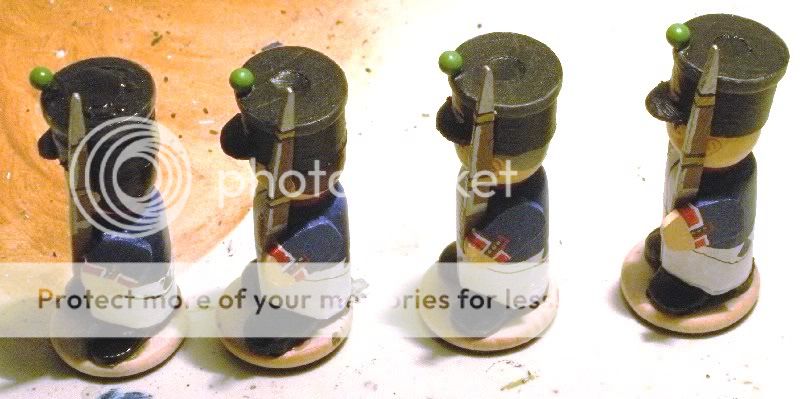
As you can see, here they are with a batch of French Fusiliers. I need to photograph them a little better, but that will be next time. The wife is crowding the table where I take pictures, so I can't do it tonight.
No comments:
Post a Comment