
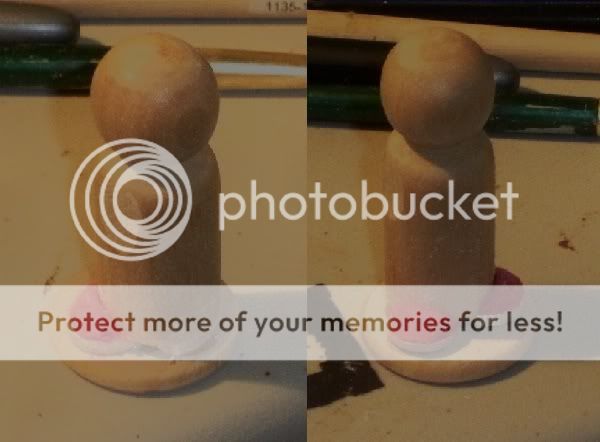
You don't need to make a large spot, as you can see. The right arm is glued straight down, representing the arm hanging at rest at the side. The left arm is extended out slightly to hold the musket. The butt of the musket will align with the bottom of the arm, where the hand will be painted. Glue the arms to the pawn using the gel glue and super glue combination used before.

At this point, you can consider the basic figure done. I do not glue the musket to the figure at this point as it makes the basic figure harder to paint. better to paint the figure, paint the musket separately, then glue the musket into place. We will show this must farther down the road.
On the Yahoo forum where we discuss building wooden soldiers one idea of late was to add mass to the arms, just like we did with the feet. What follows is optional.
Using Crayola Model Magic Fusion add a dollop to each arm and shape it so that it slopes down to each edge. Here is my first attempt at it.
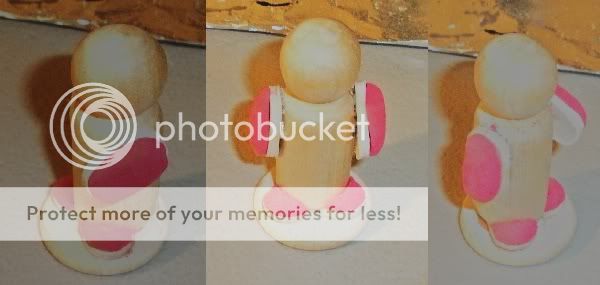
To be honest, I won't be sure whether I love it or hate it until I paint it up. For now, I'll set that figure aside until we get to the painting section.
Next up: making a Napoleonic shako.
No comments:
Post a Comment