
Here is the first of a series of tutorials on how to make your own wooden soldiers. We'll start with a Napoleonic infantry man. Generally, I mount the figure on a wooden disk as it is easier to paint that way. I also like putting feet on the figure, as it adds character. So, we'll start there.
Take a craft stick and lop off the ends (I use wire cutters). These ends will serve as the feet. You will have to judge how long to make them based on the size of the pawn you are using and how prominent you want to make the feet. Also, cut a small section for the heel. This is required so the figure stands straight on the disk and it actually looks better, like the heels of shoes.

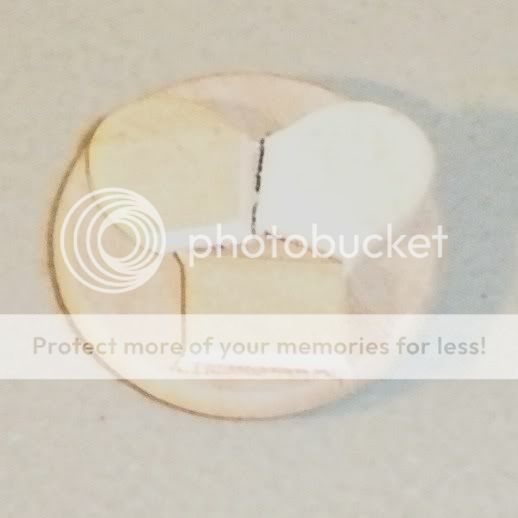
When you place the two ends on the 1" disk you will see that the ends overlap, so you will need to make a cut at and angle so the two feet can butt against one another, as shown below.

Make another cut on the opposite sides of the feet so that the heel can fit on the disk, as shown in the picture below.
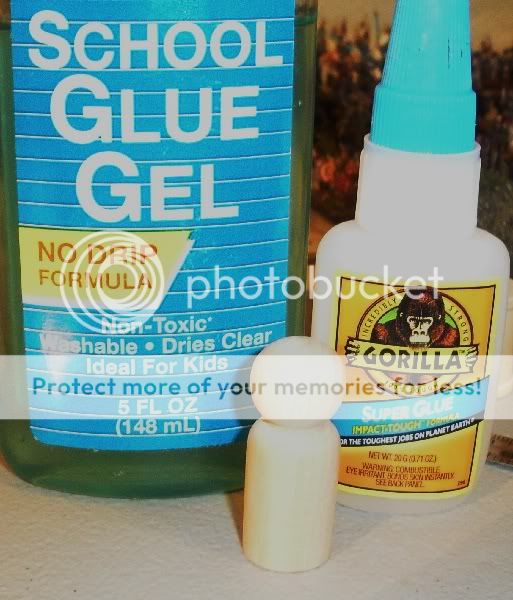
I use two glues now: a "school" gel and a super glue gel. The school gel can be found with the white glue. This one is a cheap brand that cost about $1 a bottle. Like white glues it is non-toxic and cleans up pretty easily, but it adds some "shock absorbing" to the set. The super glue is Gorilla Glue brand, which is the best super glue I have used so far. You can get it practically everywhere now. I used to use it by itself, but it is not as strong with woods unless you seal the spot where you are going to glue first.
Using these two glues together provides an interesting synergy. The glue gel sets much quicker and the super glue is more manageable as it is tackier. I generally place a bead of the gel in the center and then put a dot of super glue on top.
Now we are going to glue the components to a pawn, shown in the picture below. Mine are 1 11/16" tall, making a 40mm figure to the eye.
Carefully position the three pieces on the bottom of the pawn without gluing your fingers to everything. (I know, easier said than done.) It should look like the figure below when you are done. Note that the heel extends beyond the pawn; this is not a problem.

Here is a side shot of the feet so you can get an idea of how far they extend out on my figures. I like prominent feet. It looks cartoon-y, but that is the intent.
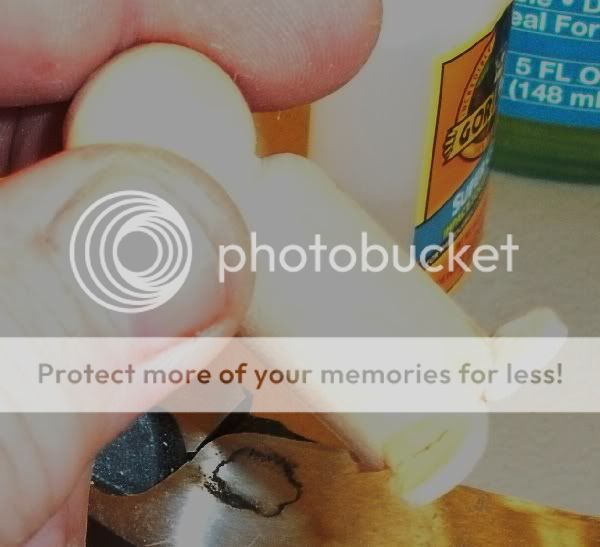
Here you can see the heel extending out beyond the pawn, and a side shot of the feet.

The next post will show finishing up the feet and adding the arms.
No comments:
Post a Comment