
The carving knives I use are Carving Knives for Beginners by Midwest Products, which I picked up at Ace Hardware for less than $10. (Ironically, the carving knives are not in the product catalog online, despite the prominent display of their web address on the packaging. Also, "Midwest" must mean China, because that is where they are made.) Note: these tools are cheap and the cutting edge won't last, but I only use it for bulk work like this. If I got into wood carving, I would buy a much better set.
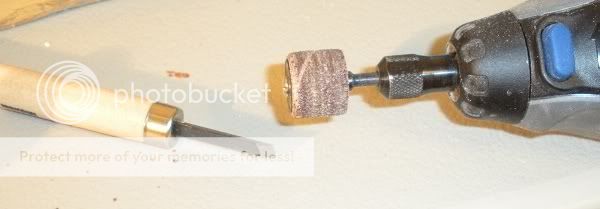
I use a 300 series Dremel rotary tool with a 1/2" sanding drum to do the finish work. Here is what the feet now should look like.

The heel should be flush to the back of the pawn, matching the curve. Not only does the heel provide more contact surface for gluing and stability for the pawn on the base, but looking at it from the side, the gap between the front foot piece and the heel gives the impression of the foot's instep.
Now it is time to glue the pawn to the base. I use a 1" x 1/8" beveled disk from Woodworks. This cost me about $0.04 each, when bought in bulk. I used the same gel glue and super glue combination that I used for attaching the feet to the pawn.

In order to give the feet some bulk I add modeling material to the top. I use Crayola Model Magic Fusion. I add a little dollop on top of each foot and round it out. I use clay sculpting tools to smooth and cut off excess materials. The feet should now look something like this.

Don't worry about any gaps; they will be filled in with paint. Now let this dry at least overnight and preferably overnight. I'll pick up with the arms next time. (Sorry about the pun...)
No comments:
Post a Comment