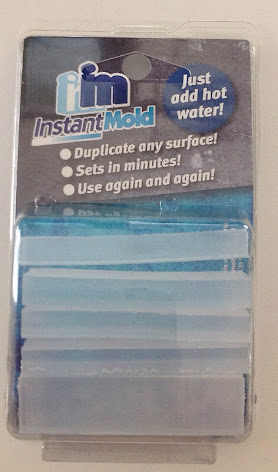
Although I love working with wood, sometimes it is very difficult making small, complex accessories due to their small size and the dangerous, potentially finger removing tools you work with. In those cases, in the past, I have almost always turn to foam sheet and scissors. But even that can be a problem if the accessory's shape is complex enough. For these tasks I turn to a product called
Instant Mold and simple press mold castings. I mentioned this product
back in Oct 2011.
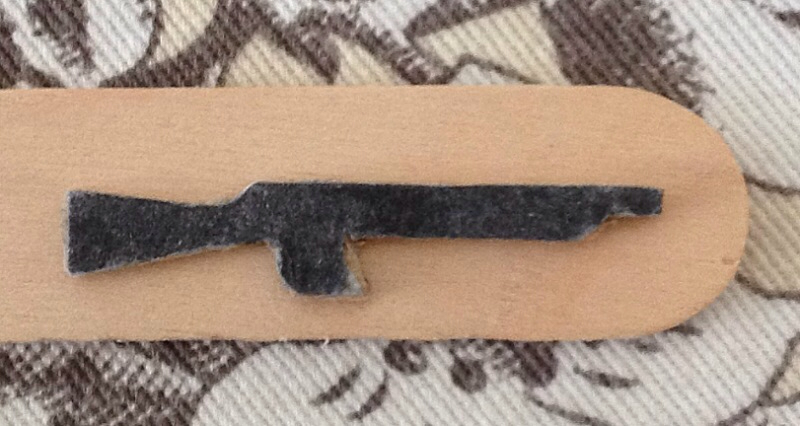
First I created an image of the accessory I want to make (which in this) case is an assault rifle and print it out onto card stock paper. I then carefully cut it out (I have a number of scrapbooking scissors which allow you to make tiny cuts) and glue it to a wood craft stick.
Next, carefully cut out the wood part. This is when having the saw bit for your Dremel really comes in handy!
The instructions on the box for using
Instant Mold are pretty easy. Heat some water to about 170º, drop the block of
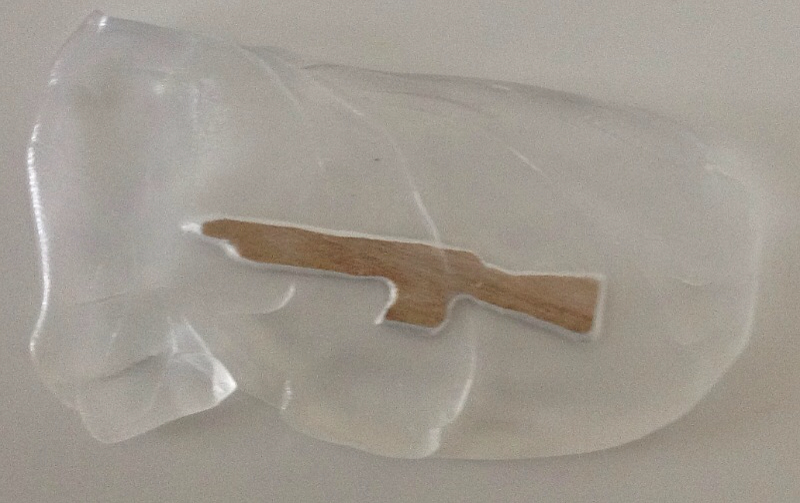
Instant Mold in it for about two minutes, carefully pull it out of the hot water, then work with it. In my case I laid the wooden part on a hard surface and dropped the blob on top of it, pressing firmly so that no spaces or gaps appeared. (Unfortunately, one did at the end of the gun barrel, which you can barely see in the image to the right.)
Most tutorials on using
Instant Mold recommend using
Lego blocks to form a box so that the mold does not flatten out too much. The thinner the mold, the more flexible it will be, and thus the more chance that the casting will be deformed.
If you muck it up, don't worry, as all you have to do is drop the blob back into the hot water and try again.
In order to set the mold material quickly I dropped the mold and part into ice water. This allowed me to quickly handle the mold without concern that I was deforming it.
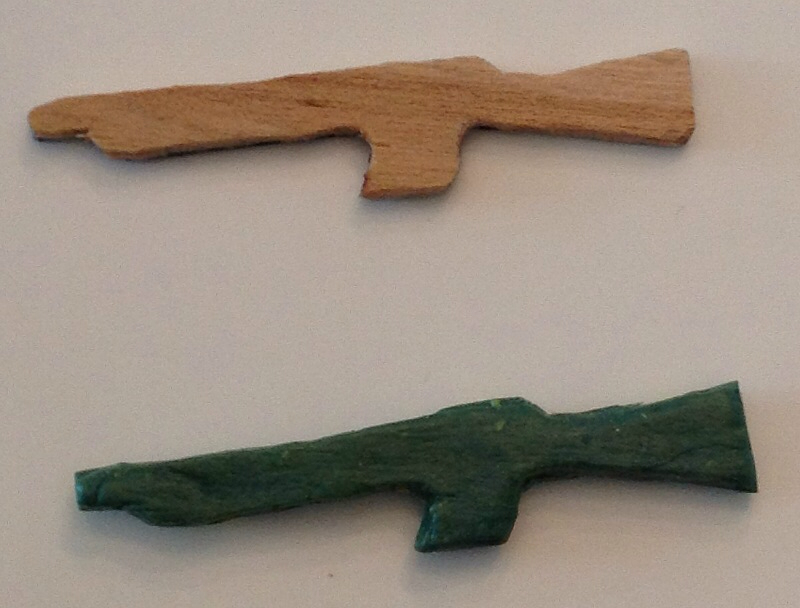
Once you have a mold to your satisfaction, mix up some two-part ribbon epoxy (otherwise known as
Green Stuff) and carefully press it into the mold. In this case you
do want the material as thin as possible as any excess on the top will have to be sanded off, so it is not too thick.
Once the
Green Stuff has hardened (about a day, depending upon the quality and age of the epoxy), simply flex the mold and pop the part out.
After that, trim the excess
Green Stuff off of the part, sand the top side (that was not in the mold), and go ahead and use it.
Very easy to make and cast small, complex shapes using this method. As the mold material is reusable, there is no reason to keep molds around after you are done with them. Simply dump them in the hot water and make a different part.
As you can see above, here is one of the assault rifles painted and in the hands of an African soldier
featured in the first picture of the last blog entry, for my AK-47 campaign (that I may eventually get to).
I hope you found this little tutorial instructive. I think you may see more use of
Instant Mold by me in the future.


No comments:
Post a Comment